Skip to content


Before and After: What 20 Minutes Looks Like (1)

It’s hard to believe that meaningful amounts of gardening can be accomplished in just 20 minutes. If there’s a trick, it’s learning to imagine what you can get get done and not over extending yourself. In the interest of transparency, Jan and I have started this series of posts about what 20 minutes looks like.

BEFORE:

The "Sandbox" bed and a bit of gravel path "au naturel"

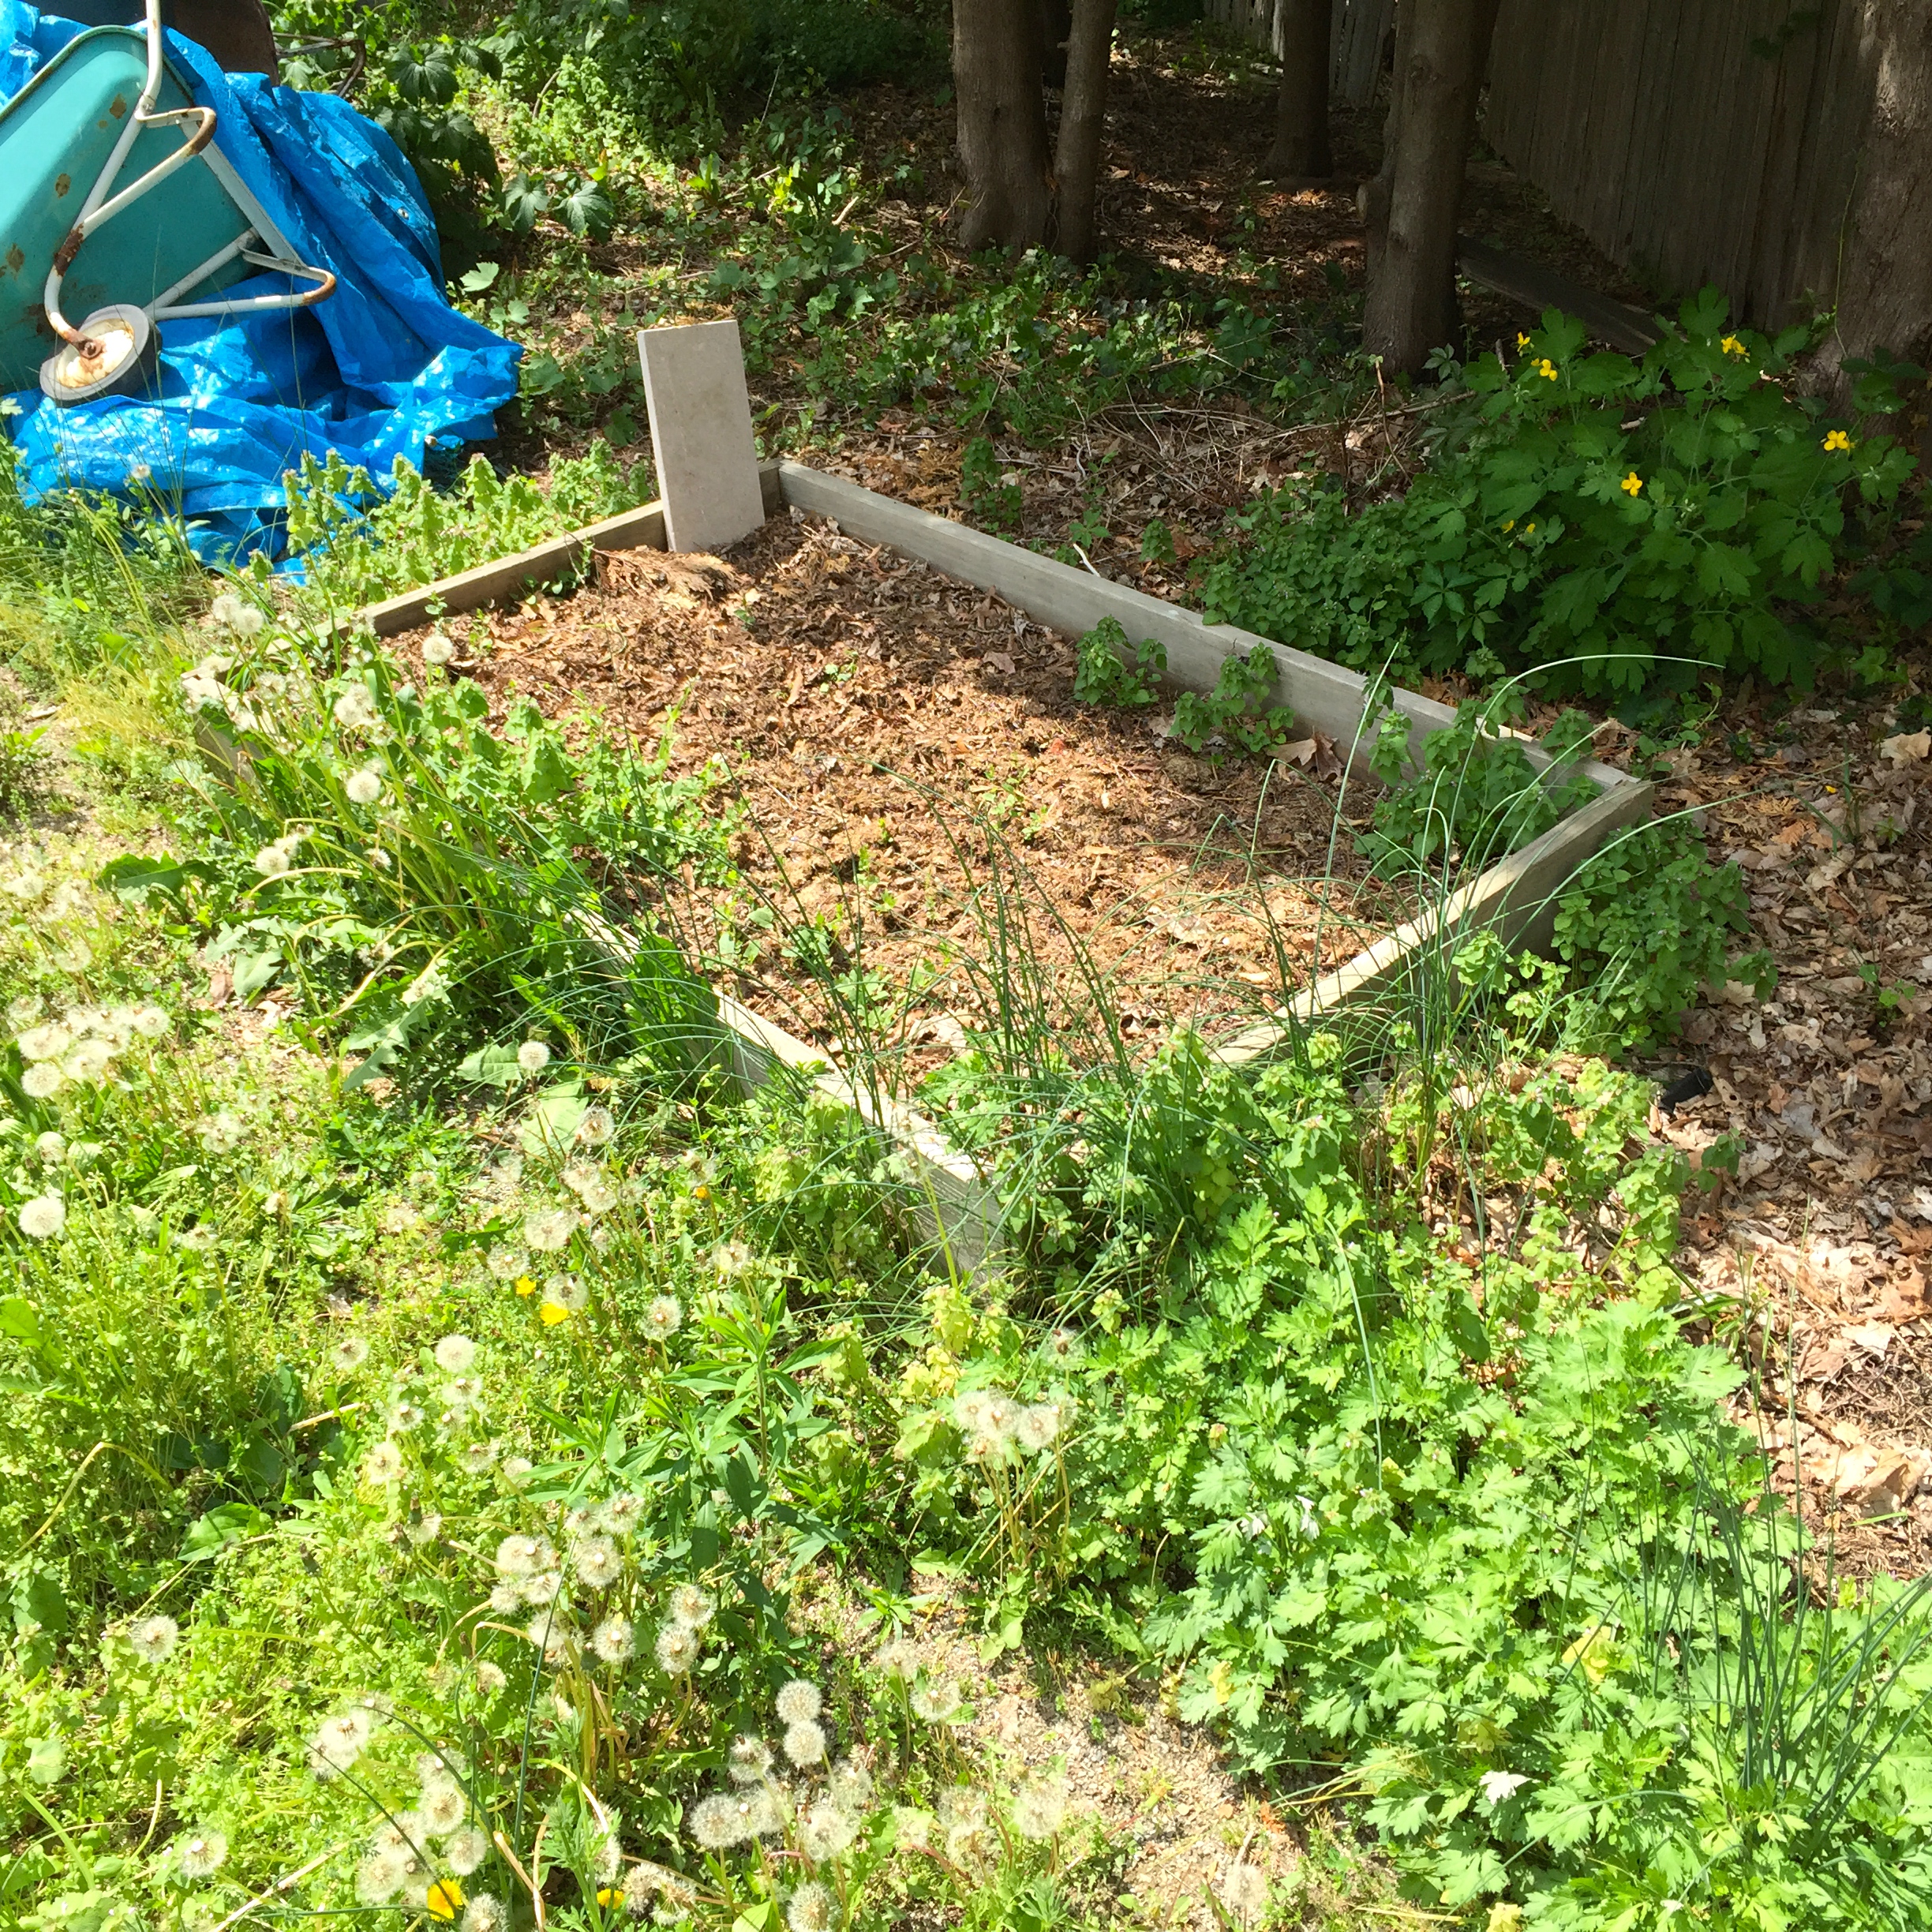
The “Sandbox” bed and a bit of gravel path “au naturel”

We scavenged this sandbox frame from some neighbors a few years back whose kids had outgrown sand castles. (I don’t think I have yet.) When we turned it into a bed, we lined it with water permeable landscaping fabric, though we could have used corrugated cardboard which would have broken down in roughly the same amount of time. We filled box with compost. Yes, we could have use a mixture of compost and soil but we have the “problem” of generating more compost than we really “need.” Oh, the travails of a kitchen gardener. We mulch our beds heavily which accounts for the relative lack of weeds in this bed. We are “at war” with bindweed which I was particularly zealous in removing.

AFTER:

The "Sandbox" bed after 20 minutes

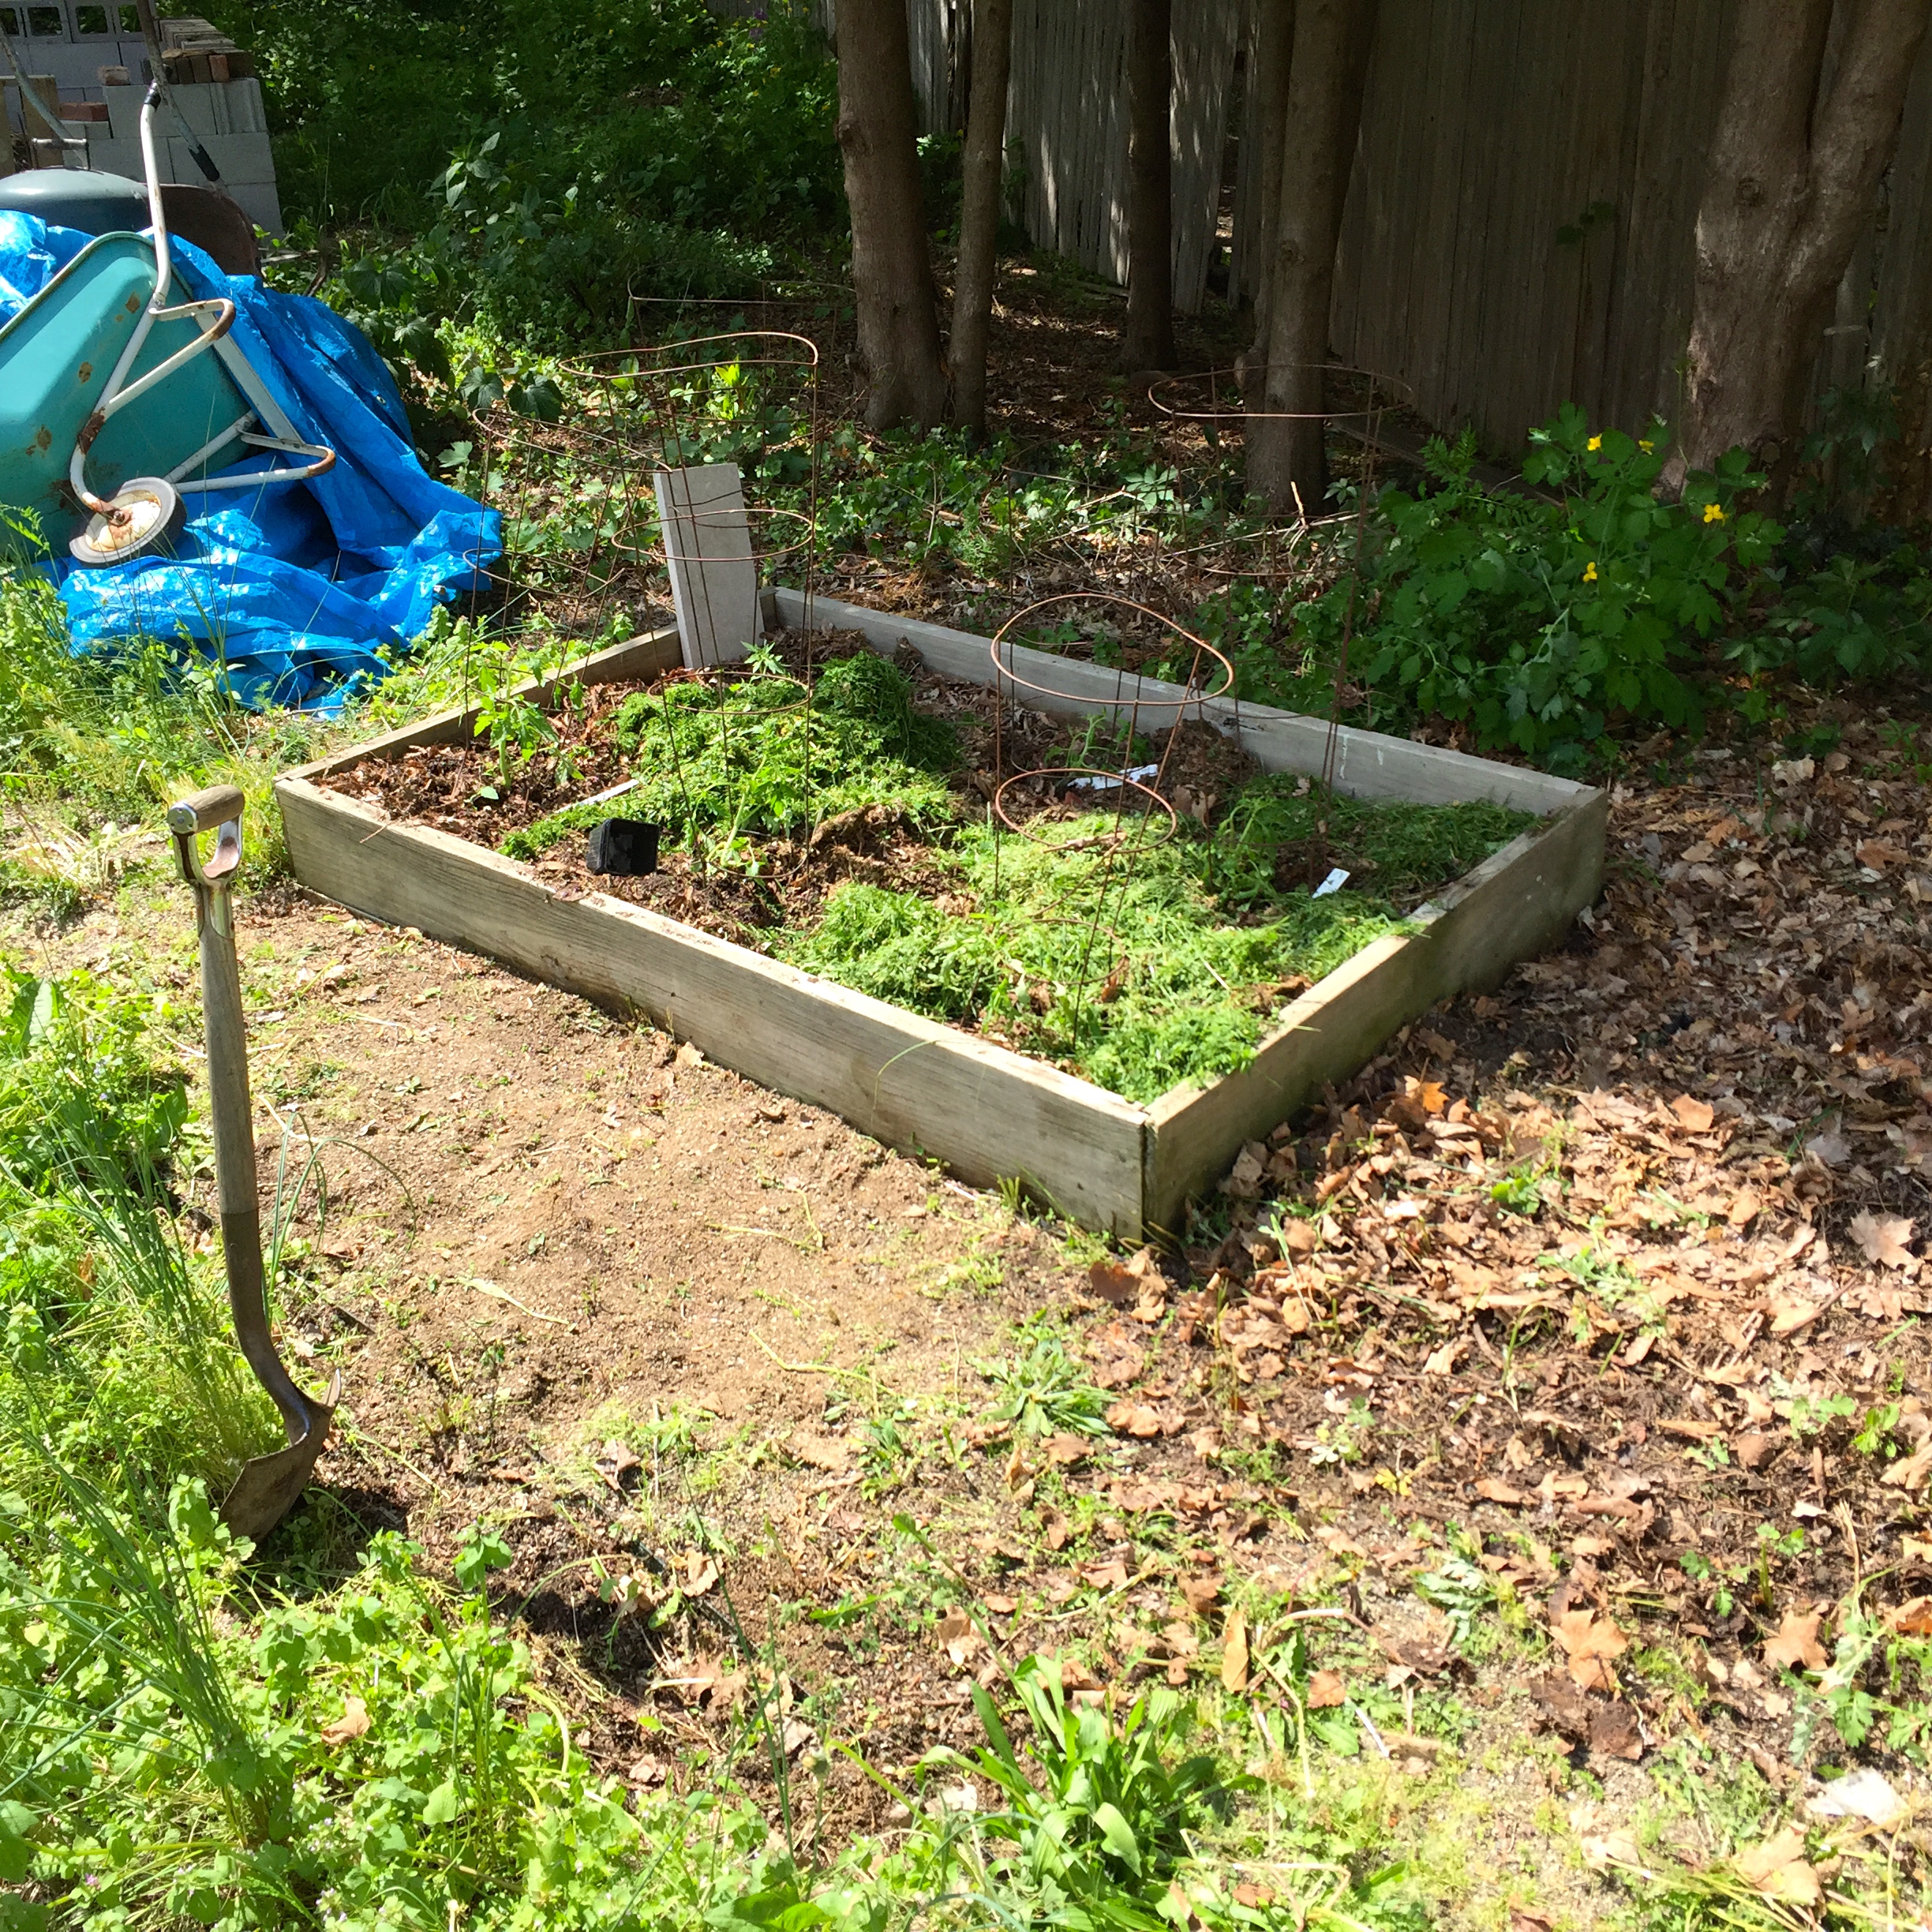
The “Sandbox” bed after 20 minutes

I focused on the bed. Jan snagged some lovely tomato sets at the Project Grow sale. Project Grow is worth a whole series of posts in itself but they fund some of their activities with an annual vegetable sale. Jan returned with peppers and tomatoes.

Ever since Jan got her Master Gardener status, she’s insisted that we at least *try* more or less to rotate the beds where we plant our “nightshades.” Tomatoes and peppers are in the same family as nightshade and if grown in the same location for too many years, harmful bacteria can build up in the soil. They also tend to be heavy feeders. This year, tomatoes are in the Sandbox.

Let me sing the praises of weeding in a bed of crumbly, well mulched soil. The weeds largely lifted out with their root systems intact. The notably exception being bindweed which snaps off after about six inches, fleeing to fight again another day. Bindweed spreads remarkably well from even a small snippet. We make sure any bindweed is well dead and composted. How? We have a round flagstone clearing where we pile weeds after shaking loose any soil. After a few days in the sun, they are wilted and have given up the ghost enough that we feel we can add them to our compost pile. (Some fear overly adding weed seeds to their compost but in our experience, a properly assembled compost pile “cooks” at high enough temperature to sterilize most seeds. The weed seeds that stay viable are “discouraged” by our all-over mulch. You Mileage May Vary.)

I usually put up some kind of “cage” when I put plants in… even if I will likely use the tomato spirals eventually. My mother joked that putting a tomato cage over a spindly little seeding might discourage it, but I prefer to think I’m giving the sprouts something to shoot for. Y’know, the reach exceeding grasp else what’s a heaven for, type of thing. Also, I reminds ME that I’ve planted something in a given bed. Yup, on more than one occasion I have enthusiastically “weeded” out seedlings that I forgot I’d planted previously.

The only bit of “cheating” shown here is that Jan was running the lawn mower as I weeded so I was able to mulch some of the tomatoes just after I planted them. The crumbly friable soil was so loose I didn’t need a trowel to excavate a hole but I did moisten the holes with a bit of water. I left the identifying plastic tags by each tomato. Later, maybe tonight during a garden walk, I’ll collect them and note which kind of tomato is where in the garden journal. You DO keep a garden journal, don’t you? It’s a great way to keep track of details from year to year.

Weeding the path is another thing altogether. The previous own put in this snaking path that is quite lovely. It resists weeds for the most part but the ones that do manage to get a foothold are particularly devilish to extricate. For the most part, the weeds in the path have extremely shallow roots, since the path has a dense base. The bigger weeds can be pulled normally. For smaller ones, I have developed a technique of rubbing my fingers through the gravel back and forth. The roots are dislodged and magically collect in my fingers while the gravel is lightly scattered. I might make a video about it at some point if that description is too vague. Honestly though, I intend to use a propane torch later in the season to toast the roots of these path weeds. I read about it on Tobias Buckell’s blog a couple years back and it’s exactly the kind of “lazy gardener” trick I adore.

That’s it. 20 minutes.

Posted in • Growing.

Tagged with .


20MinuteGarden PODCAST: Penguicon 2015

20 Minute Jim and 20 Minute Jan discuss some of the highlights of Penguicon 2015 (http://2015.penguicon.org/) mostly, though not exclusively from the Eco track of programming.

Topics include:

— Consent is not restraint; it’s constitutive of a safe, creative atmosphere to explore new interests. It’s the exact opposite of surveillance culture;

— Conflict in the Garden: (our presentation which will be released as a separate podcast)

— 12 Uses for 5-Gallon Buckets in the Garden:

— How to make Kids Fall in Love with Gardening:

— Beekeeping (daniel eakins)

— OpenSoda (http://www.opensoda.org/)

— Vermiculture

— Dream life, cutting edge medical prosthetics, polyphasic sleep hacking…

Plus: various life lessons learned from Con life.

Posted in .

Tagged with , .


Gardening Presentations at Penguicon 2015

This coming weekend is Penguincon 2015, and we’re very excited to attend once again. What is Penguicon? Penguicon is defines itself as a not-for profit, community run convention for open source software, science fiction, music, gaming, DIY and more. I’ve attended 3 Penguicons in the past, and I can say without hesitation that it’s educational, inspiring, and just plain fun.

This year marks a milestone for me: I’ve had a goal of participating at Penguicon which I’ll meet by making three gardening-related presentations.

Here is my presentation schedule:

Friday 5pm: Conflict in the Garden

Saturday 5pm: 12 Uses for a 5 Gallon Bucket in the Garden

Sunday 2pm: How to Get Kids to Fall in Love with Gardening

Details to follow!

Posted in • Growing.

Tagged with , , .


Planting your first garden — without Pinterest!

Is 2015 going to be your year, the year that you are going to make that dream of a first garden into a reality? Growing a first garden can be a scary proposition, one full of expectations and unknowns. BasilSeedlings-thumb-250x311-79852

Your first inclination might be to run to Pinterest for inspiration. The site is chock full of beautiful pictures and ideas that can provide instruction and creativity.

Don’t do that. Don’t even peek.

Instead, use your own ideas and preferences to begin planning. Make your garden your own, and you’ll find it easier to love and care for. Even better, right now is the best time to think about and plan for your garden because there’s enough time to get a headstart on the season. If you are in our zone, Southern Michigan, or a comparable area, take this advice to heart too: there’s still plenty of time!

Here are the three main things to consider at this stage of the gardening game:

Location:
Start with what’s handy. Maybe you already have a spot for your garden in mind. It could be a place where a garden was grown before or a new spot that seems right to you. If you are picking out a spot, you’ll want to pay attention to the amount of sun that area receives. For kitchen gardens in general, you want to maximize the sunlight your plot will get by planting in the areas that get the most sun hours.

If you don’t have space of your own, don’t despair. Gardens can happen just about anywhere. Container gardens are a shortcut for homeowners and apartment dwellers alike. Containers will do well on balconies, decks, along sidewalks or drives, even set out in the yard.

If you have no space at all of your own, don’t resign yourself to being garden-less. It’s early enough in the season that you can come up with a work-around. Do you have a friend or neighbor who gardens, one who might have a little extra space or who might even be interested in sharing gardening responsibilities with you? You can also investigate community gardens, which offer plots for the gardening season for rental fees.

Size:
Start small. This is always my best, most sound advice. A great garden doesn’t have to be a large garden. Reign in any grandiose ideas, and focus instead on making a small successful garden. The garden that you can take care of is the very best size.

For a first garden, a plot of about 4 feet by 4 feet is plenty to work with. Next year, you can certainly expand your garden, but a garden of reasonable size is the best one with which to begin.

Content:
Start with what you love. Do you want to grow flowers, vegetables or herbs? Or some of each? There is no right answer to what a person should grow in a first garden, but choosing to grow what makes you happy is the best approach. Don’t grow plants that are reputed to be “easy” or “prolific” if they aren’t things you love. If you or your family aren’t going to eat cucumbers for example, what’s the point of having a bumper crop? You’ll need to take into account what thrives in your climate and how easy or difficult something is to grow, but your preferences should be the overall guide to selecting plants.

If you haven’t gardened before, think about starting with seedlings which you can purchase later in the season, often from a farmers’ market or a gardening store. Look for healthy plants with sturdy stalks and firm leaves that are not “pot-bound”– that is bursting the seams with tangled roots.

A successful first garden starts with reasonable expectations and plans. Grow a few different plants that you love and enjoy as you begin gardening, and you’ll end up with a garden that you like. View your garden as an on-going experiment that you can learn from and improve each year — because time does go fast! — and you’ll be on your way to growing a great garden that reflects not someone else’s ideas, but your vision and creativity.

Posted in • Growing.

Tagged with , , .


Belated Easter Chocolate Stout (13)

Inaugural Batch brewed on the $100 Dollar Folly

Inaugural Batch brewed on the $100 Dollar Folly


————

Posted on April 23, 2012 by halzpal

I *thought* I’d get a chance to brew on Easter weekend, though in retrospect I can’t imagine why. I even planned to be cute about it and whip up a clone of the Rogue Chocolate Stout. Get it? Chocolate Easter Bunnies? There’s a secret about this batch however that makes it relatively appropriate for Earth Day. The base recipe comes from the kind folks at Zymurgy, who publish the recipe in their “Best Beers in America” articles. This one came from the July/August 2009 issue (Volume 32. No. 4 pg 18) but I gather the same recipe also appeared in Zymurgy back in the September/October 2003.

————

Rogue Chocolate Stout Clone
5 U.S. gallons (19 liters)
O.G. 1.060 (15 P)
IBU: 69
11.0 lb. Great Western 2-row pale malt
.5 lb. 120L Crystal Malt
.5 lb. Chocolate Malt
.5 lb. Rolled Oats
3.0 oz. Roast Barley
1.5 oz. Chocolate extract (in secondary)
1.0 oz. Cascade pellet hops, 5% a.a. (90 mins)
1.0 oz. Cascade pellet hops, 5% a.a. (30 mins)
1.0 oz. Cascade pellet hops, 5% a.a. (knockout)
1.0 tsp. Irish moss (20 mins)
Wyeast 1764 Pacman Ale Yeast (If available) or White Labs WLP001 California Ale or Wyeast 1056 American Ale.

Mash at 150*F for 60 mins. Sparge at 175*F to collect 6.5 gallons of pre-boiled wort. Boil 90 minutes. Cool to 60*F and pitch yeast. Ferment at 60*F for one week. Siphon into secondary at 50-55*F onto chocolate extract and hold until fermentation is complete, then package and condition.

=====

I’m doing a couple variations:

• I cut the base grain in hopes of getting a slightly lower alcohol brew suitable for summer. I’m using about 9 pounds of Maris Otter. (Astute readers will note the grain substitution;)

• I’m not the greatest fan of Cascades, especially not in stout and the citrus-y “grapefruit” flavor in particular doesn’t sound like “chocolate.” And since I’m cheap, I’m using some pellet hops I had in cold storage: 1 oz. East Kent Goldings (5%), 1 oz. Ahtanum and 1 oz. Saaz.

• And for yeast I’m falling back on my favorite dry yeast — Safale S-04 “English Ale”
(Yes, yes, yes — I’m skewing the recipe away from American Stout into uncharted territory somewhere back across the Pond.)

• The one change to the recipe I think I •won’t• make is the chocolate extract in the secondary; that is, I *will* add some extract. I traditionally like to create the illusion of chocolate through other ingredients then a couple weeks back I mixed a bit of Creme de Cacao with the dregs of a Frankenstein Stout to marvelous effects. I’ve since encountered several mixed drinks on the menu at a couple bars that use beer in their mixology. It’s a strange world, ain’ it?

• I’m most excited about is that I brewed the batch on my brand new Rocket Stove code-named “The Hundred Dollar Folly.” I will have a post or two about construction of this marvel soon. I’m pretty pleased with how it turned out, especially since I’m not that skilled tinkering with metal.

View from the Brew: I had “trouble with conversion” which is a polite way of saying I took an overly long nap half-way through the process. I loaded up the cooler with grain and 7 gallons of 160 degree water which stabilized at 152… and I sat down to “do some research.” When I woke up, it was after 4:30, far later in the day than I’d hoped.

Lighting the rocket stove proved a bit less straight forward that I expected as well. The technique that finally worked for me was to crumple up a couple sheets of notebook paper, shove them DOWN the vertical flue and then to slide in the first load of twigs in the horizontal feed tube. The sticks weren’t particularly dry either but they caught after only a couple matches.

The draw on the stove really sounds like a rocket, by the way.

IMG_5979

When I first put the 8 gallon stainless steel pot on top of the rocket stove, I was immediately engulfed in black smoke. Come to find out, the flue was a bit too close to the bottom of the pot so the flame was choked. A bit of handy work with tin snips and a wrench bent the extra length to a nice flared rosette. On with the boil!

The pot had about 5.5 gallons at around 145 degrees when I placed on the stove a little after 5:15 PM. It reached raging boil by 6:25 which is when I added the Ahtanum hops. At 6:45 I added the Kent Goldings and at 7:05 I added both the Saaz hops and put the chiller in to sterilize it. I removed the pot from the heat and started chilling. Next time, I won’t put the scalding hot brew pot on a patch of grass (D’oh!) and I’ll time completion to make use of that residual heat in the Rocket Stove. It would be plenty hot enough to do a stir fry or carmelize some onions. The other improvement I want is a “pot skirt” if for no other reason that to keep the wind from blowing back draft down the chimney. Half way through this boil, I improvised a sheild from a piece of scrap metal that I hastily bent. It seemed to improve the burn greatly.
Yeast was pitched and clean up complete by 8:10.

Observations and Notes for Improvements:

• Wood consumption — I didn’t believe the claims about how little wood a Rocket Stove used but I brewed a whole batch of beer with little more than the trimmings from one good sized bush. Next time I’ll photograph the wood I’m going to use, maybe even weigh it. Combustion was quite thorough with darned near no ash and no smoke, except for that one time when I nearly choked the flame. Smaller and straighter twigs seem to work a bit better than thicker ones (or is that rather obvious?).

• Tending — The Rocket Stove required nearly constant attention. Yes, I know this is a GOOD thing because it gives us brewers an excuse to sit in the back yard and look all serious and important while we’re basically doing what appears to be nothing. Seriously, since only the tips of the wood is on fire, every few minutes, each twig needs to be scooted in a bit. There are models of Rocket Stove that feature an angled fuel tube which allows fuel to be stoked for non-attended burns. My next Rocket Stove might be of that type but for now, I don’t mind a little fiddling.

• Soot — I wish I’d thought to photograph the soot on the bottom of the brew pot. It wasn’t as clean cooking on an electric stove but it wasn’t as filthy as I expected. The soot really was restricted to the very bottom of the pot. I’m curious how much was deposited due to my overly tall flue. I’m further curious if the pot skirt will help minimize the soot as well.

• Fuel tube divider — The most important part of a Rocket Stove fire, I learned, is the air. My tendency was to choke the flame with too much wood. As I pushed the wood in toward the combustion chamber, the divider that allows in air sometimes got pushed in as well, thus resulting in a rather oxygen starved fire. Further, the fuel tube divider itself didn’t seem strong enough to hold the weight of the fuel at least not at the temperatures of the fire. I’ll fiddle with that before the next burn.

• Insulation — At the end of the burn, the outside of the utility pail was warm to the touch, not hot by any means but about as warm as a cup of coffee with milk. I don’t believe that’s hot enough for the zinc to vaporize… then again it’s a bit warmer than I was lead to believe based on the guy who built a Rocket Stove in a cardboard box. The cat litter didn’t give off any objectionable odor though it did keep pouring out between the fuel tube and the hole I carefully cut in the pail. I’m tempted to weld it.

I am extremely pleased with this inaugural burn of my “Hundred Dollar Folly” Rocket Stove — though the real proof will be when it comes time to sample the stout. Fuel was free and *very* local since it came from the bush at the end of my drive.

Posted in • Green Home Brewing.

Tagged with , , , , , .