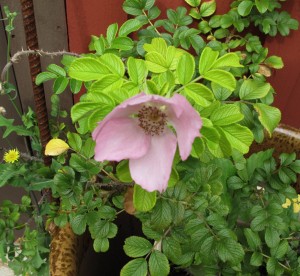
The theme of our gardens is, broadly speaking, growing what is edible and useful. So it’s still a little surprising to me that we have begun to grow roses too. Roses in the rosa rugosa family have large rose hips, which can be made into tea or jelly or nibbled on in the garden, as Jim is wont to do. We have had two lovely rugosa roses bought from Great Lakes Roses at the Farmers’ Market before they closed. This year we decided to expand our rose garden.
Like many people who garden, we receive numerous catalogs from one of the big gardening companies, including one that came with a $25- off coupon on the cover. We put ours toward purchasing more roses, in fact a total of six roses bushes.
They arrived in the mail not long ago and when I opened them up, I found some of the tiniest rose bushes I’ve ever seen! Calling them “bushes” is, in fact, a bit generous!
Since small things do grow — most of the time– I took care to plant the roses correctly to give them a good chance of healthy start.
Here are some steps to keep in mind for planting roses:
1. Roses like a lot of sunlight. Choose a spot that gets at least 6 hours of sunlight per day. They would be happier with more, but 6 hours is the minimum amount.
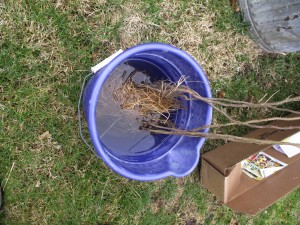
2. Since our roses were shipped as bare roots, they needed to be soaked in a bucket of water for several hours before being planted.
3. Plant the roses as soon as possible after shipping. I couldn’t get to them right away, so I opened the boxes and moistened the packing material before storing them in the garage.
4. Even though these are small plants, I dug holes about 12” deep and 18” wide. I added some compost to the soil and mixed it in well.
Note: we add organic matter, usually home-made compost, leaves or grass clippings, to our soil whenever we are digging or planting. That’s how soil is improved. What a gardener should not do when planting a shrub or tree is fill the resulting hole with compost. That will tempt the plant to not spread its roots, but keep them balled up because of that tasty spot created.
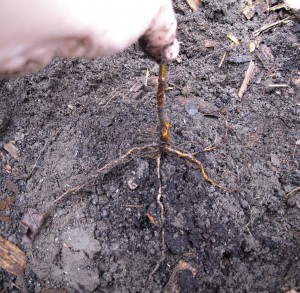
5. Create a small, cone-shaped pile of soil in the center of each planting hole. Spread the roots down the slope. Be sure to place the plant so that the bud union is 1-2 inches above the ground level because the plant will settle.
6. Work the soil around carefully so that all roots contact the soil. Add water to settle the roots. Fill in the planting hole.
I’m excited to see how these roses do. They were a bit of a bargain and will be a learning experience too. If they do well, I’m hoping to give rose propagation a try. That seems like the next gardening frontier.


