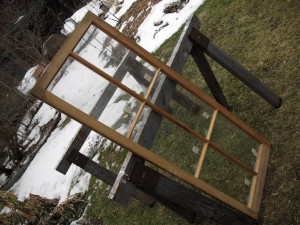
Cold frames extend the growing season which is handy in a climate like southeastern Michigan. We’ve employed a variety of season extenders in our gardens over the years, from modest juice-jar cloches to a sandbox turned nursery bed with some clear plastic. For quite awhile, however, I’ve wanted a real cold frame with a sturdy wooden box and glazing made from a true glass window.
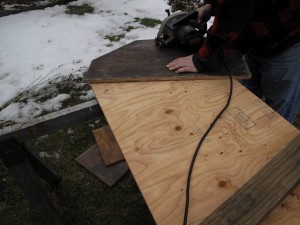
For how long? I scavenged the window two decades ago. A couple 4 x 4’s came from a student loft– a student who must have graduated in the mid-90’s. A few nicely sized pieces of 1” plywood became available last fall when we demolished some shelves. I have a box of hinges and handles that came from some hardware close-out along the line. But the parts would never have come together if not for that early season gardener’s itch. The soil’s too wet to till but the weather is too glorious to stay cooped up. Building a cold frame is the next best thing to gardening.
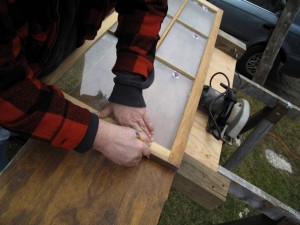
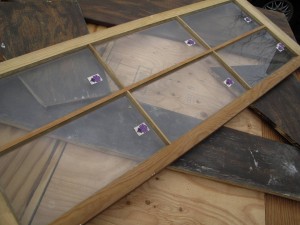
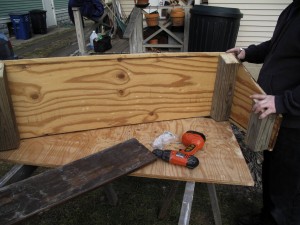
The key dimensions all came from the window so I’m not including measurements in these instructions. Construction should be easy enough to figure out from the pictures. Yes, yes, yes, of course, there’s a “correct” angle for a cold frame so that it catches the mathematically optimal amount of sunlight. But then, there is also the best angle possible for this particular window frame and this particular board. I figured that the spring sun is still relatively low in the sky and adjusted my angles accordingly.
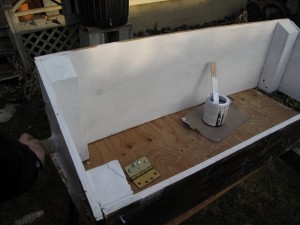
I’m wary of pressure treated lumber in yard projects, but I didn’t want the cold frame to rot out quickly. My compromise was to apply a coat of stain or primer to any raw wood. Stain and primer both sink in better than a simple coat of paint. I haven’t heard anyone suggest this idea but I thought if I painted the inside of the cold frame white, the light might bounce around a bit.
Many jokes have been made about how every problem resembles a nail when the only tool at your disposal is a hammer. That folksy wisdom aside, I surely have found a lot of problems that are resolved by 4″ lag screws. I keep a box on my tool shelf, and they were the fastener of choice on this project. I must confess that I purchased 16 2″ washers from the kind folks at Stadium Hardware. The total for the washers was $3.20. Everything else was scavaged, which brings the total cost of the project to $3.20.
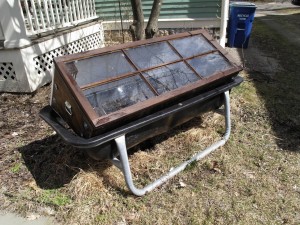
We’re so pleased with this cold frame that we hope to make at least one additional cold frame very similar to it. Our first cold frame is settled on what we call the lettuce bed where it provides access to the sun, encouraging the tiny seeds to germinate, as well as protection from the harsher early spring elements.


One Response
Stay in touch with the conversation, subscribe to the RSS feed for comments on this post.
Continuing the Discussion