It’s hard to believe that meaningful amounts of gardening can be accomplished in just 20 minutes. If there’s a trick, it’s learning to imagine what you can get get done and not over extending yourself. In the interest of transparency, Jan and I have started this series of posts about what 20 minutes looks like.
BEFORE:
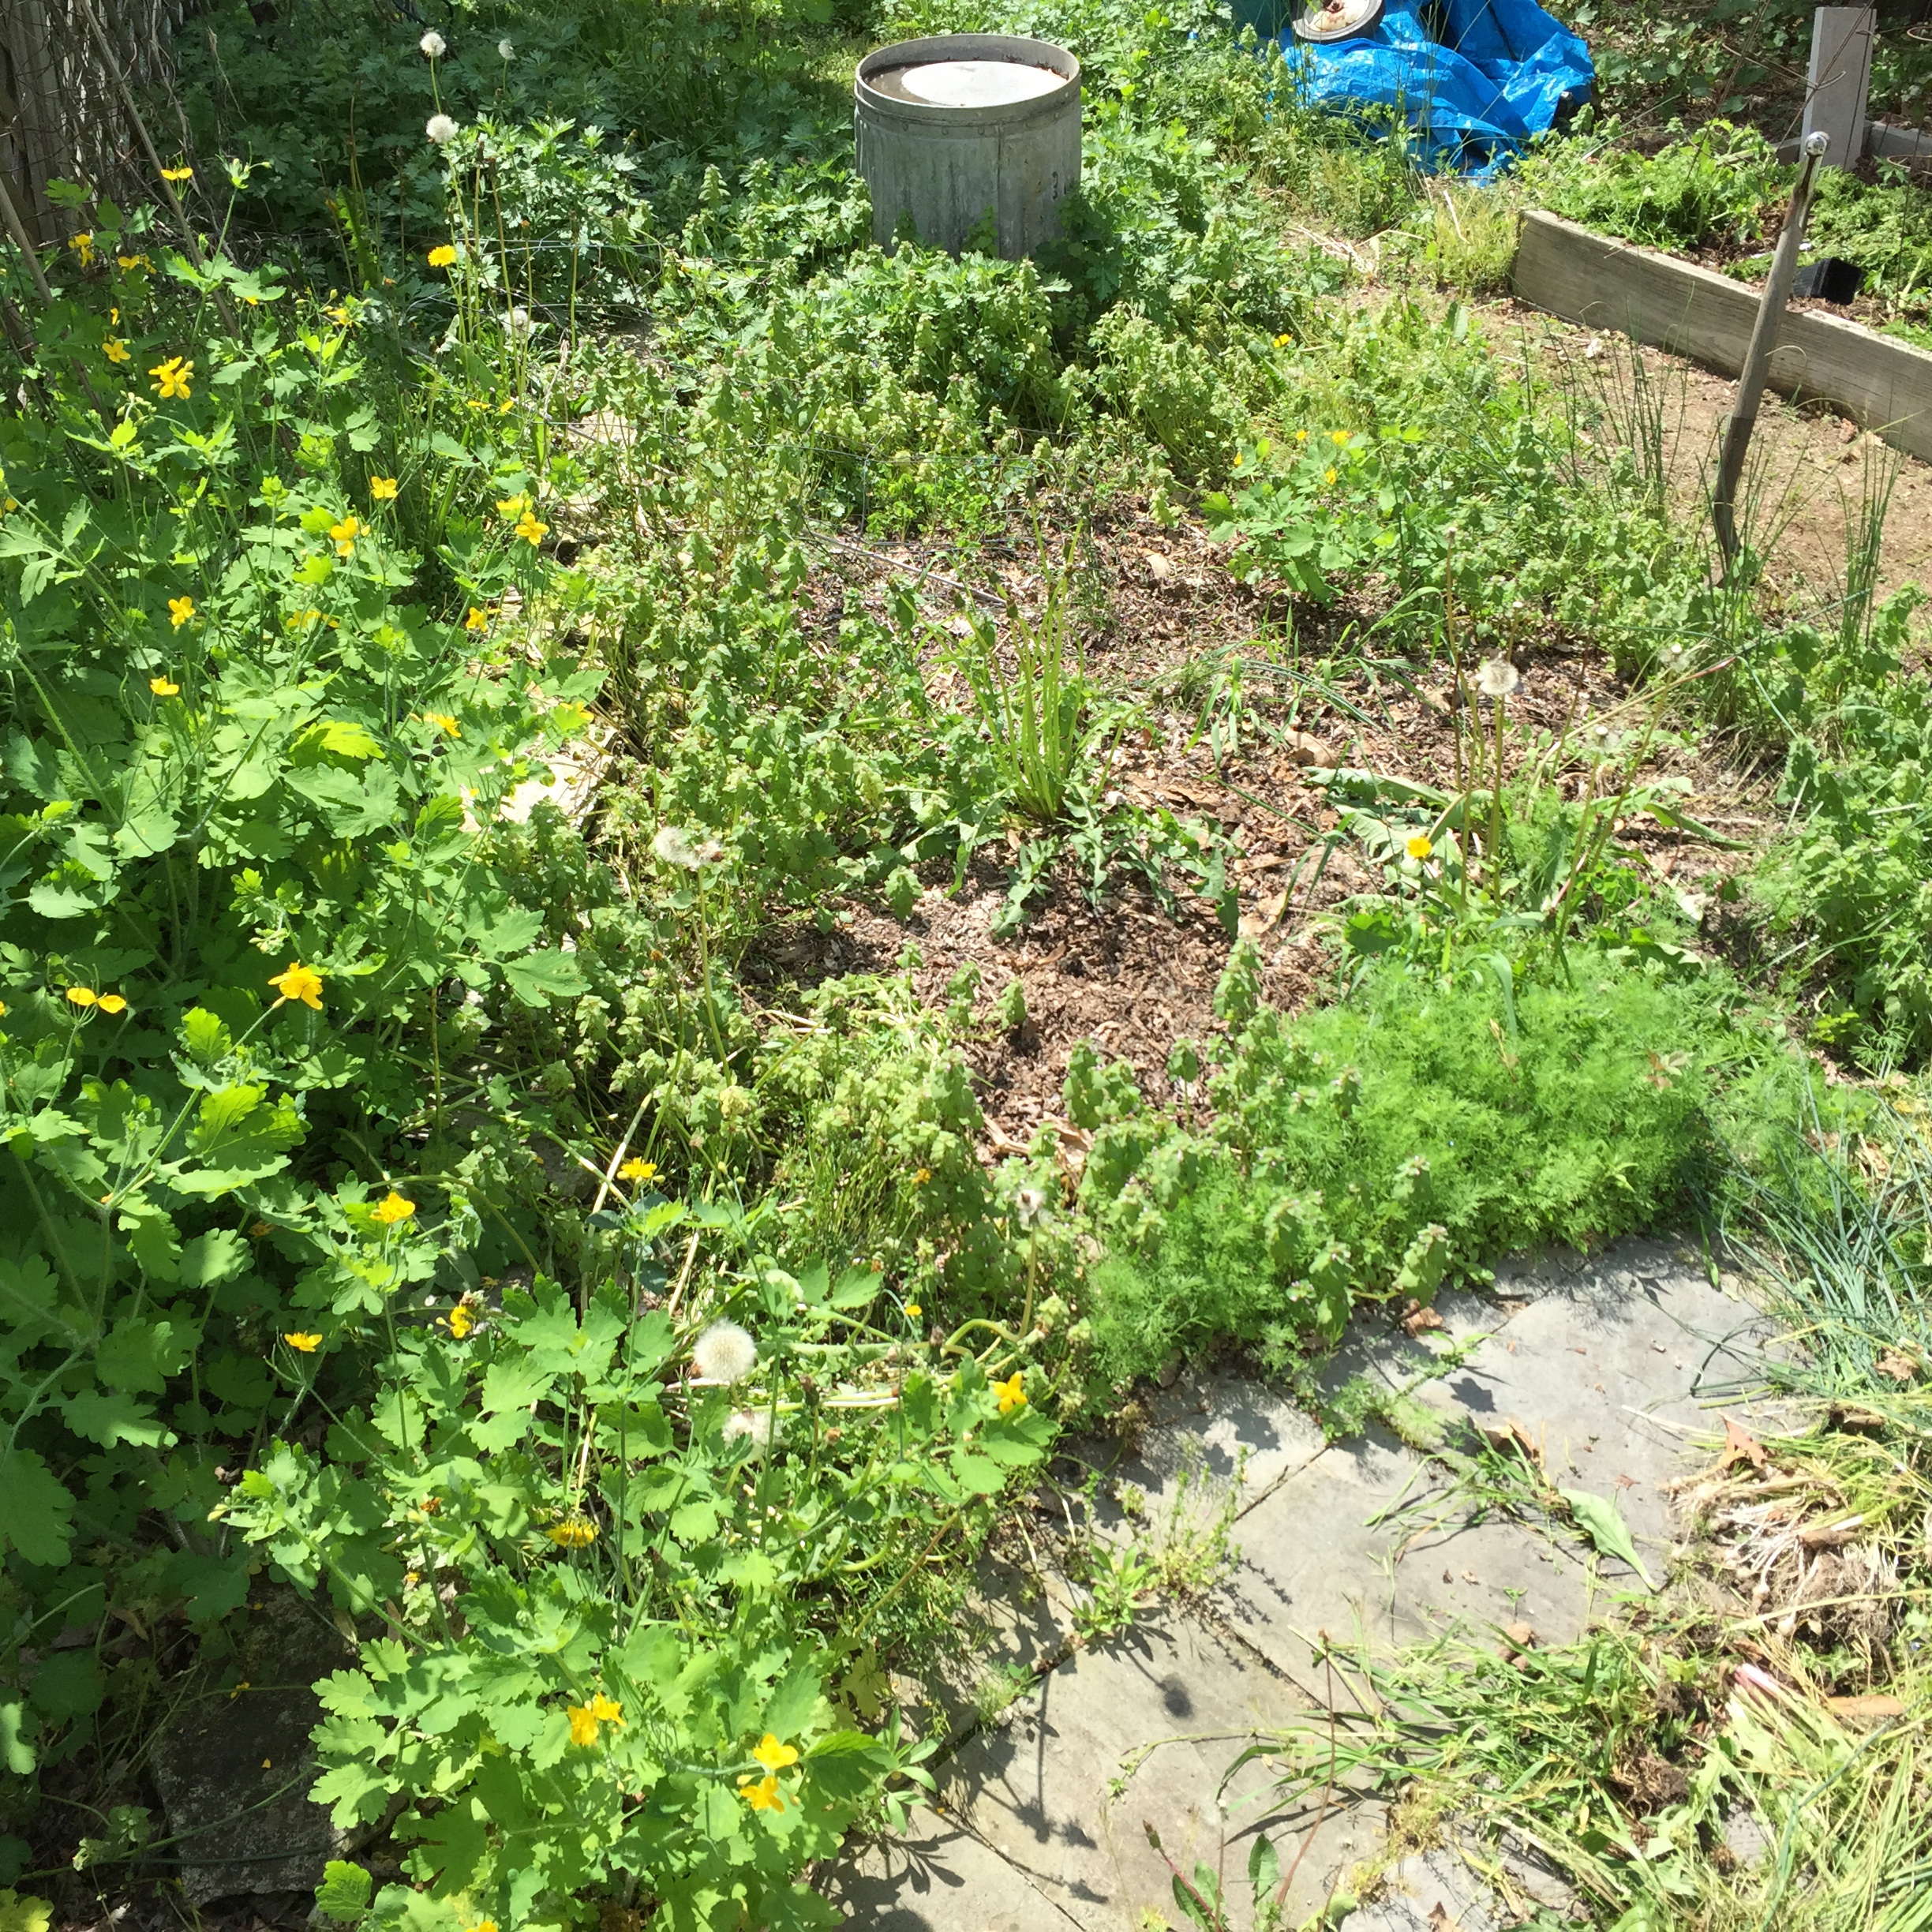
The “Wedge” bed shown au naturel
The “Wedge” bed is bounded on the north by a gravel path, on the south by a raised stone bed and on the east by a flagstone circle. We name our different beds because noting different “zones” allows us to alternate our attentions during the growing season. It’s easy to get overwhelmed by ALL there is to do in a garden but by dividing the space into distinct regions and assigning each region a day of the week is a trick to keep from getting frazzled.
Like most of our beds, we mulched heavily last fall with leaves. We even steal leaves from our neighbors for this purpose. The bed would have been over-run with weeds by this point otherwise, I suspect. I had stashed some of our home-made tomato cages in the raise bed area so I had to extricate them as I weeded. Those with good eyes will be able to detect several varieties of edible weed that I didn’t bother to save. However, I rescued a clump of self-seeded dill by the edge of the flagstone circle. Some other day, I’ll likely transplant it over to the raised stone bed.
AFTER:
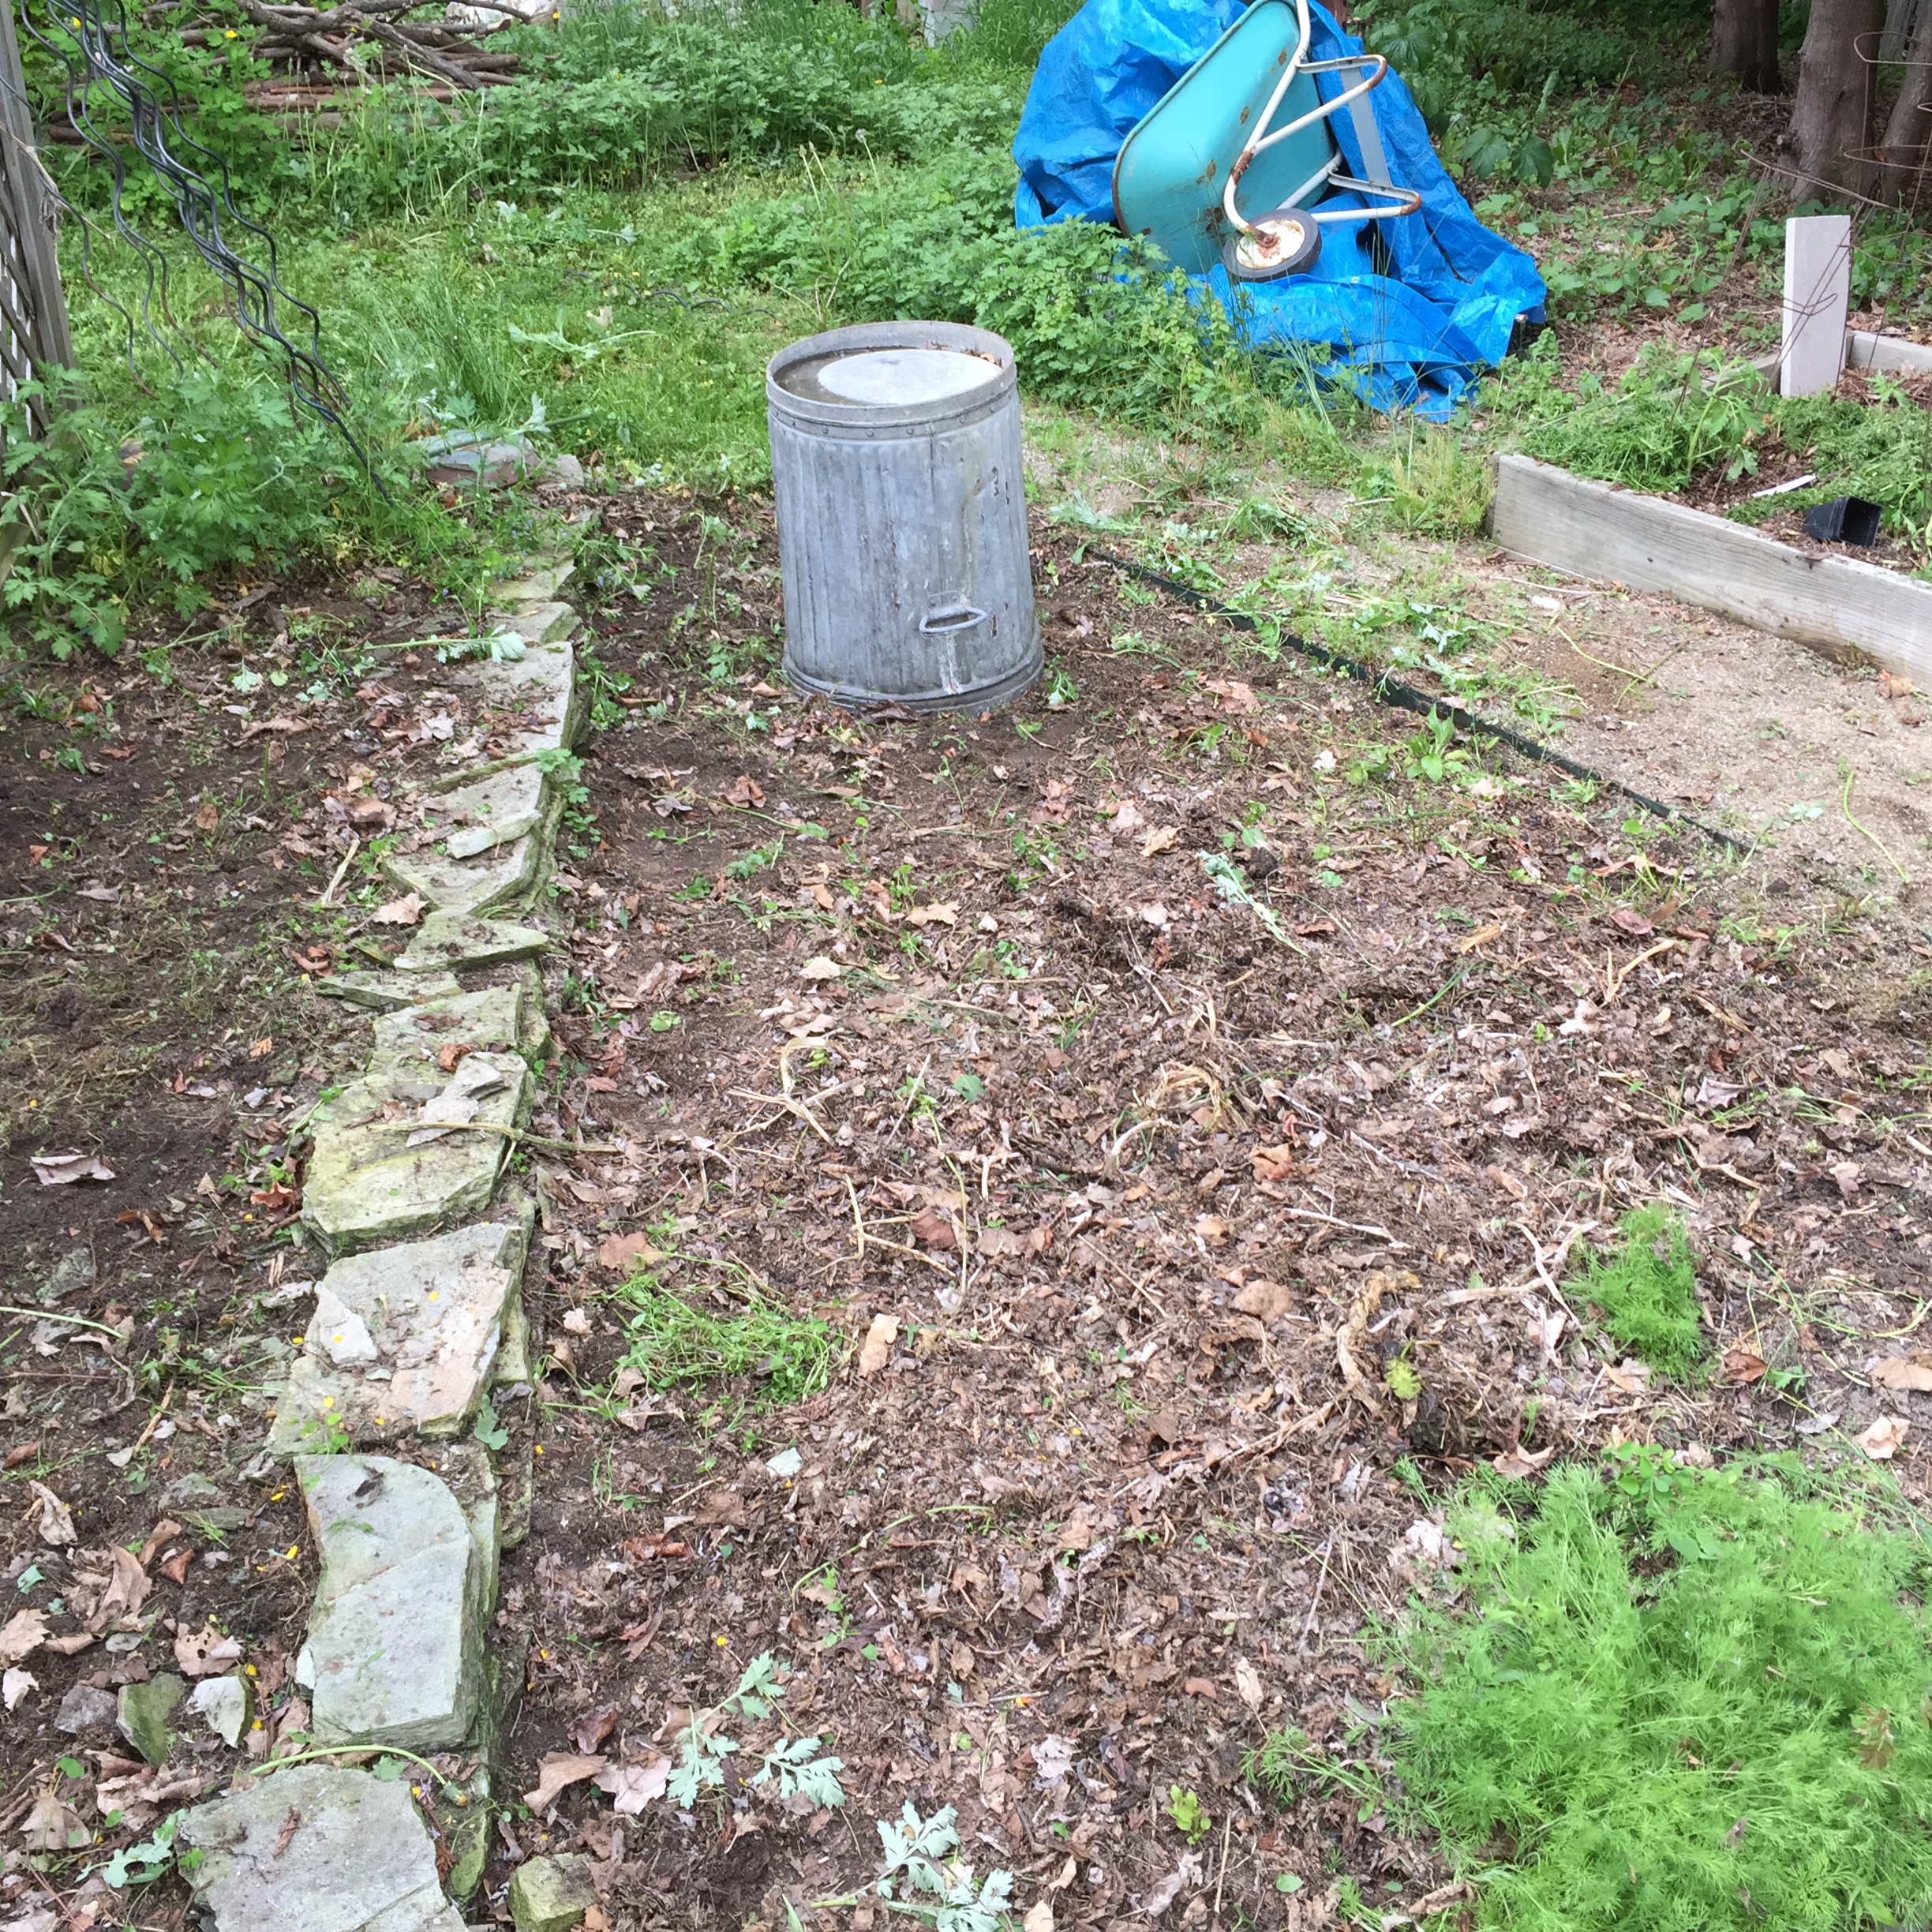
The “Wedge” bed shown after 20 honest minutes of work
Not much more to say. I loaded the weeds on our drying pile, where we’ll let them wilt in the sun for a few days before adding them to our compost. Once the season gets going, that is, once the plants are in and the beds are well-mulched, I’ll likely leave the weeds on top of the mulch. The only notable exception is bindweed, our current bane, which is treated with extreme prejudice and removed to the trash.


