First posted on April 5, 2012 by halzpal
When I first heard of a “Rocket Stove” my first thought was “I wonder if I could brew on that?” There are models designed especially to cook five gallons which seemed close enough to a soda-keg sized batch of beer. I built one last winter and here’s how it went.
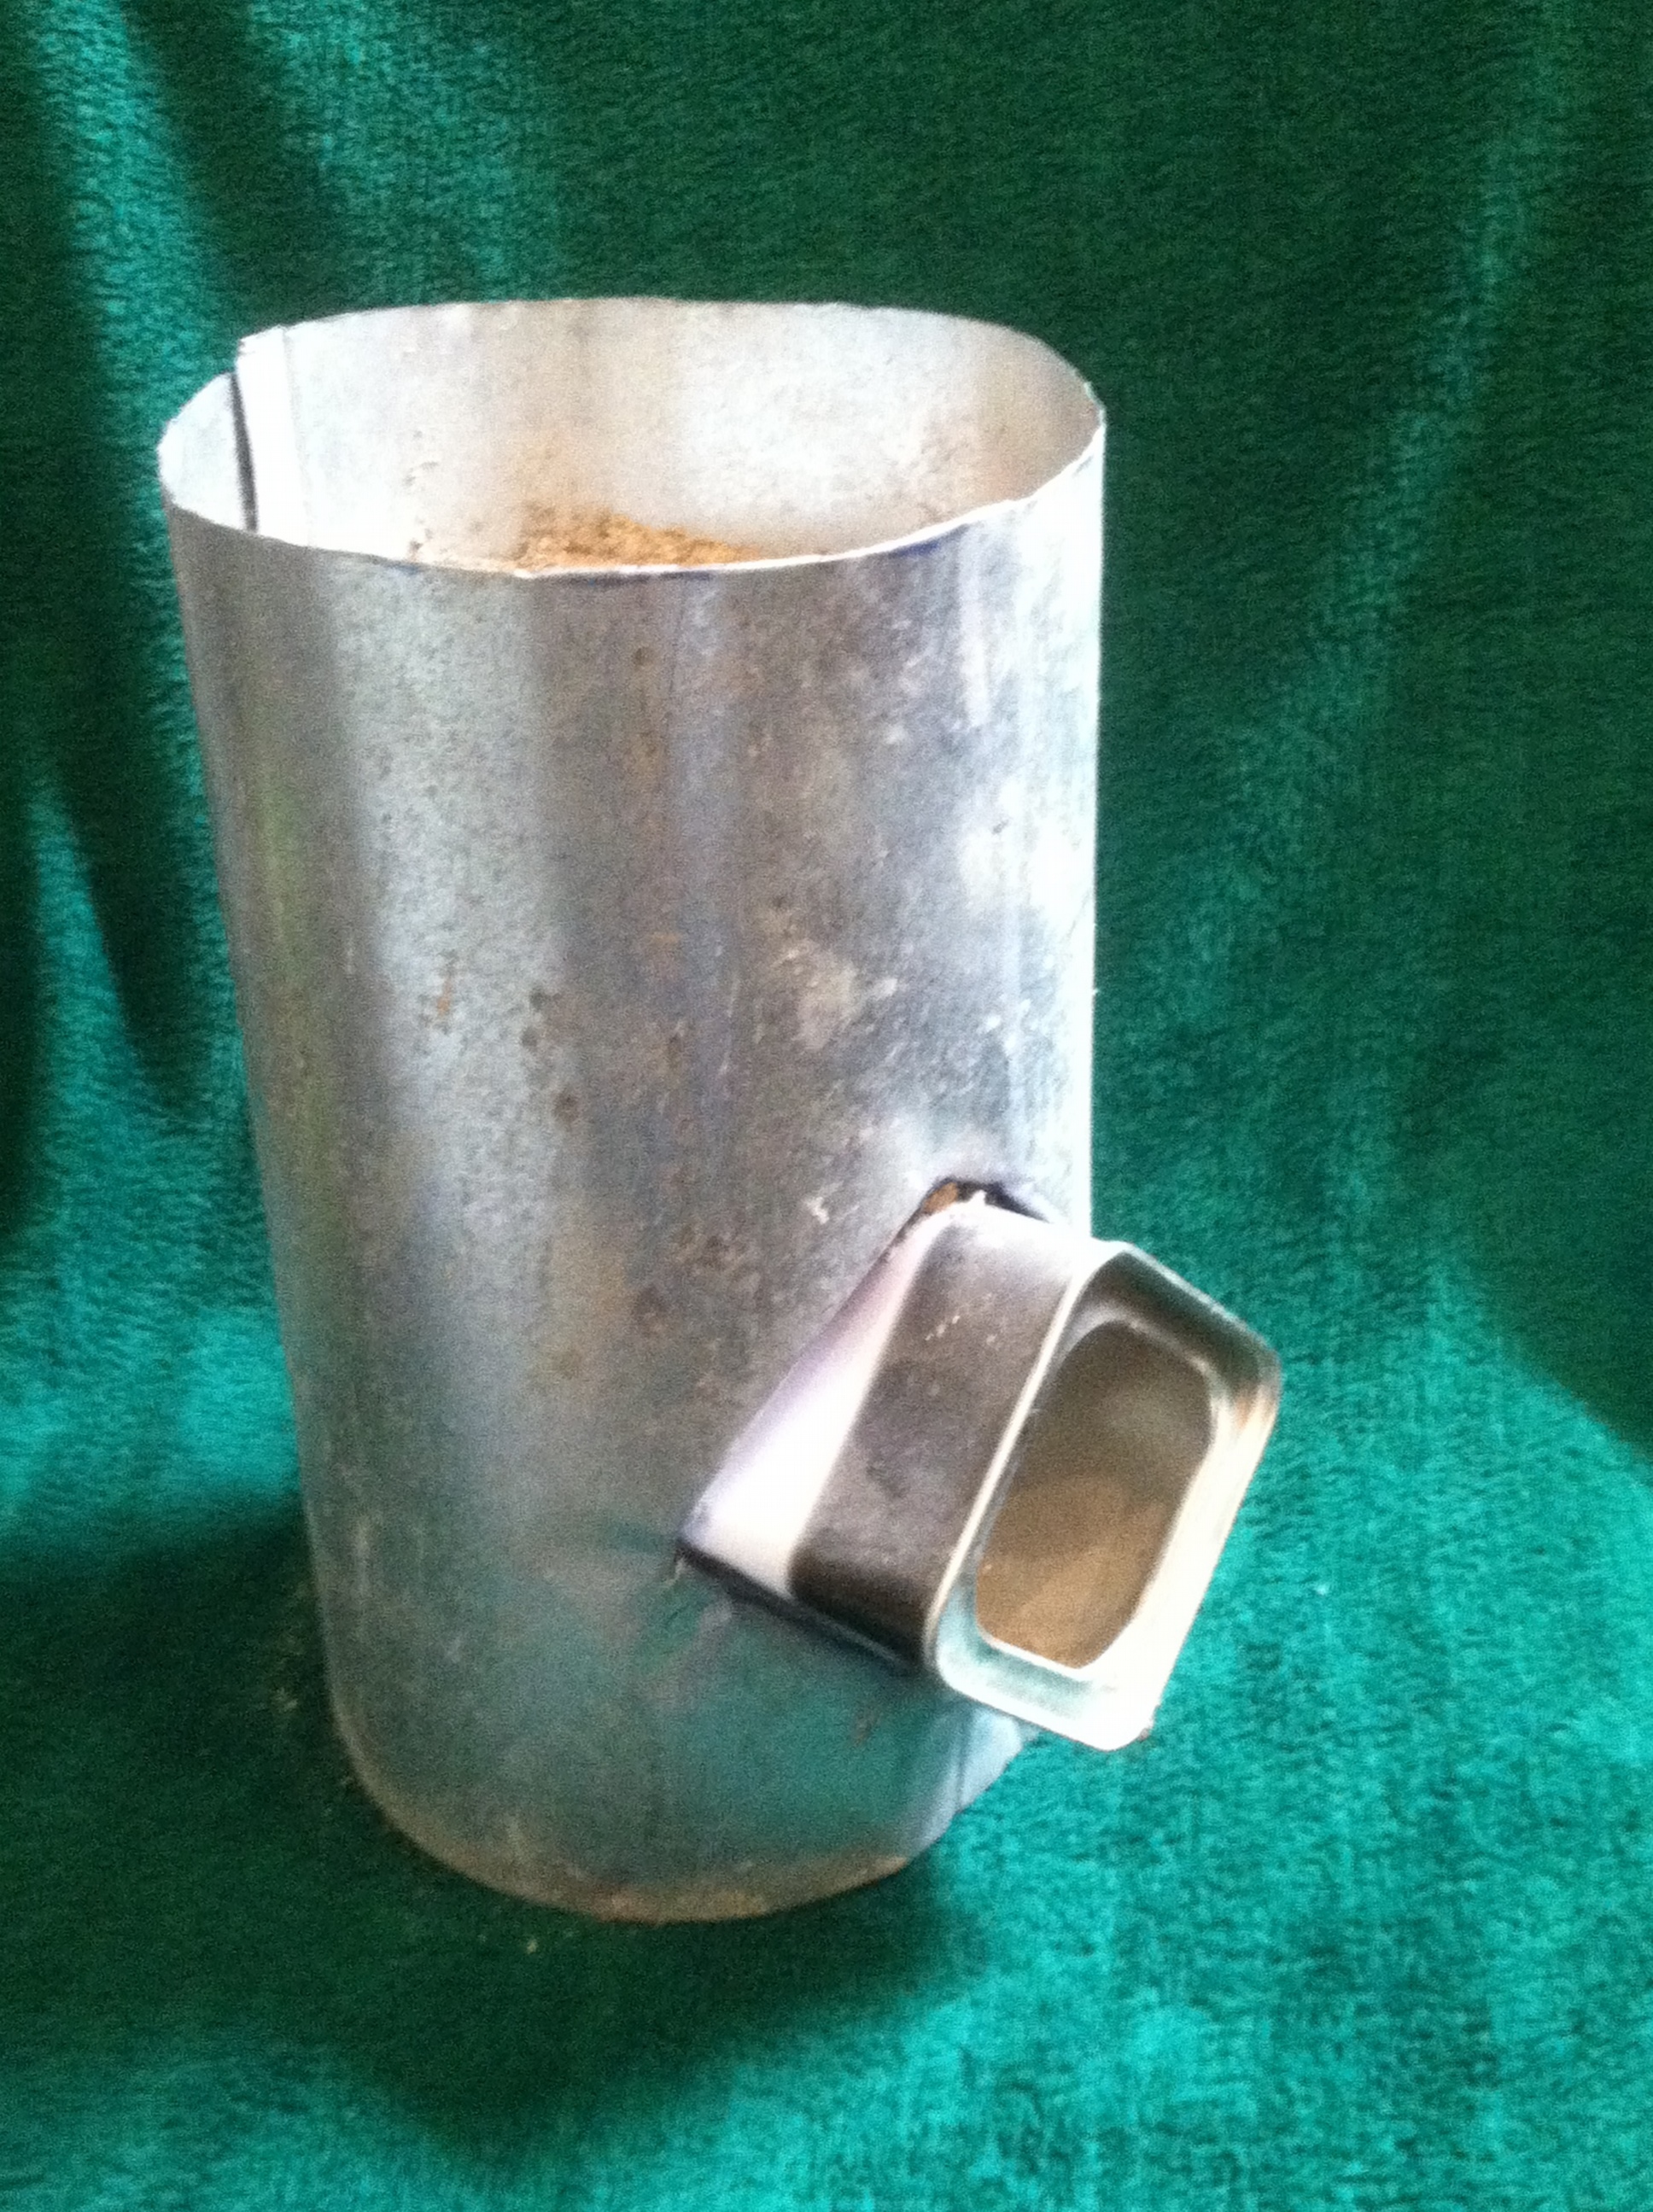
My Discarded Rocket Stove
Three things are to be noted as wonderful:
• It’s Finished! — I actually completed the thing — To often, I fear, my great ideas stay ideas. It’s wonderful to refine the concept but at some point, you’ve got to start tinkering with some actual atoms. Kudos to me for actually making the thing.
• Behold the Pot Skirt — I integrated a “pot skirt” into the design. A pot skirt directs the heat of the stove around the outside of the cook pot. It also minimizes the effect of wind. Since I was building the rocket stove out of metal (more on that in the second half) instead of cans, I had the flexibility to extend the upper edge of the stove high enough above the rocket exhaust that it could be a pot skirt.
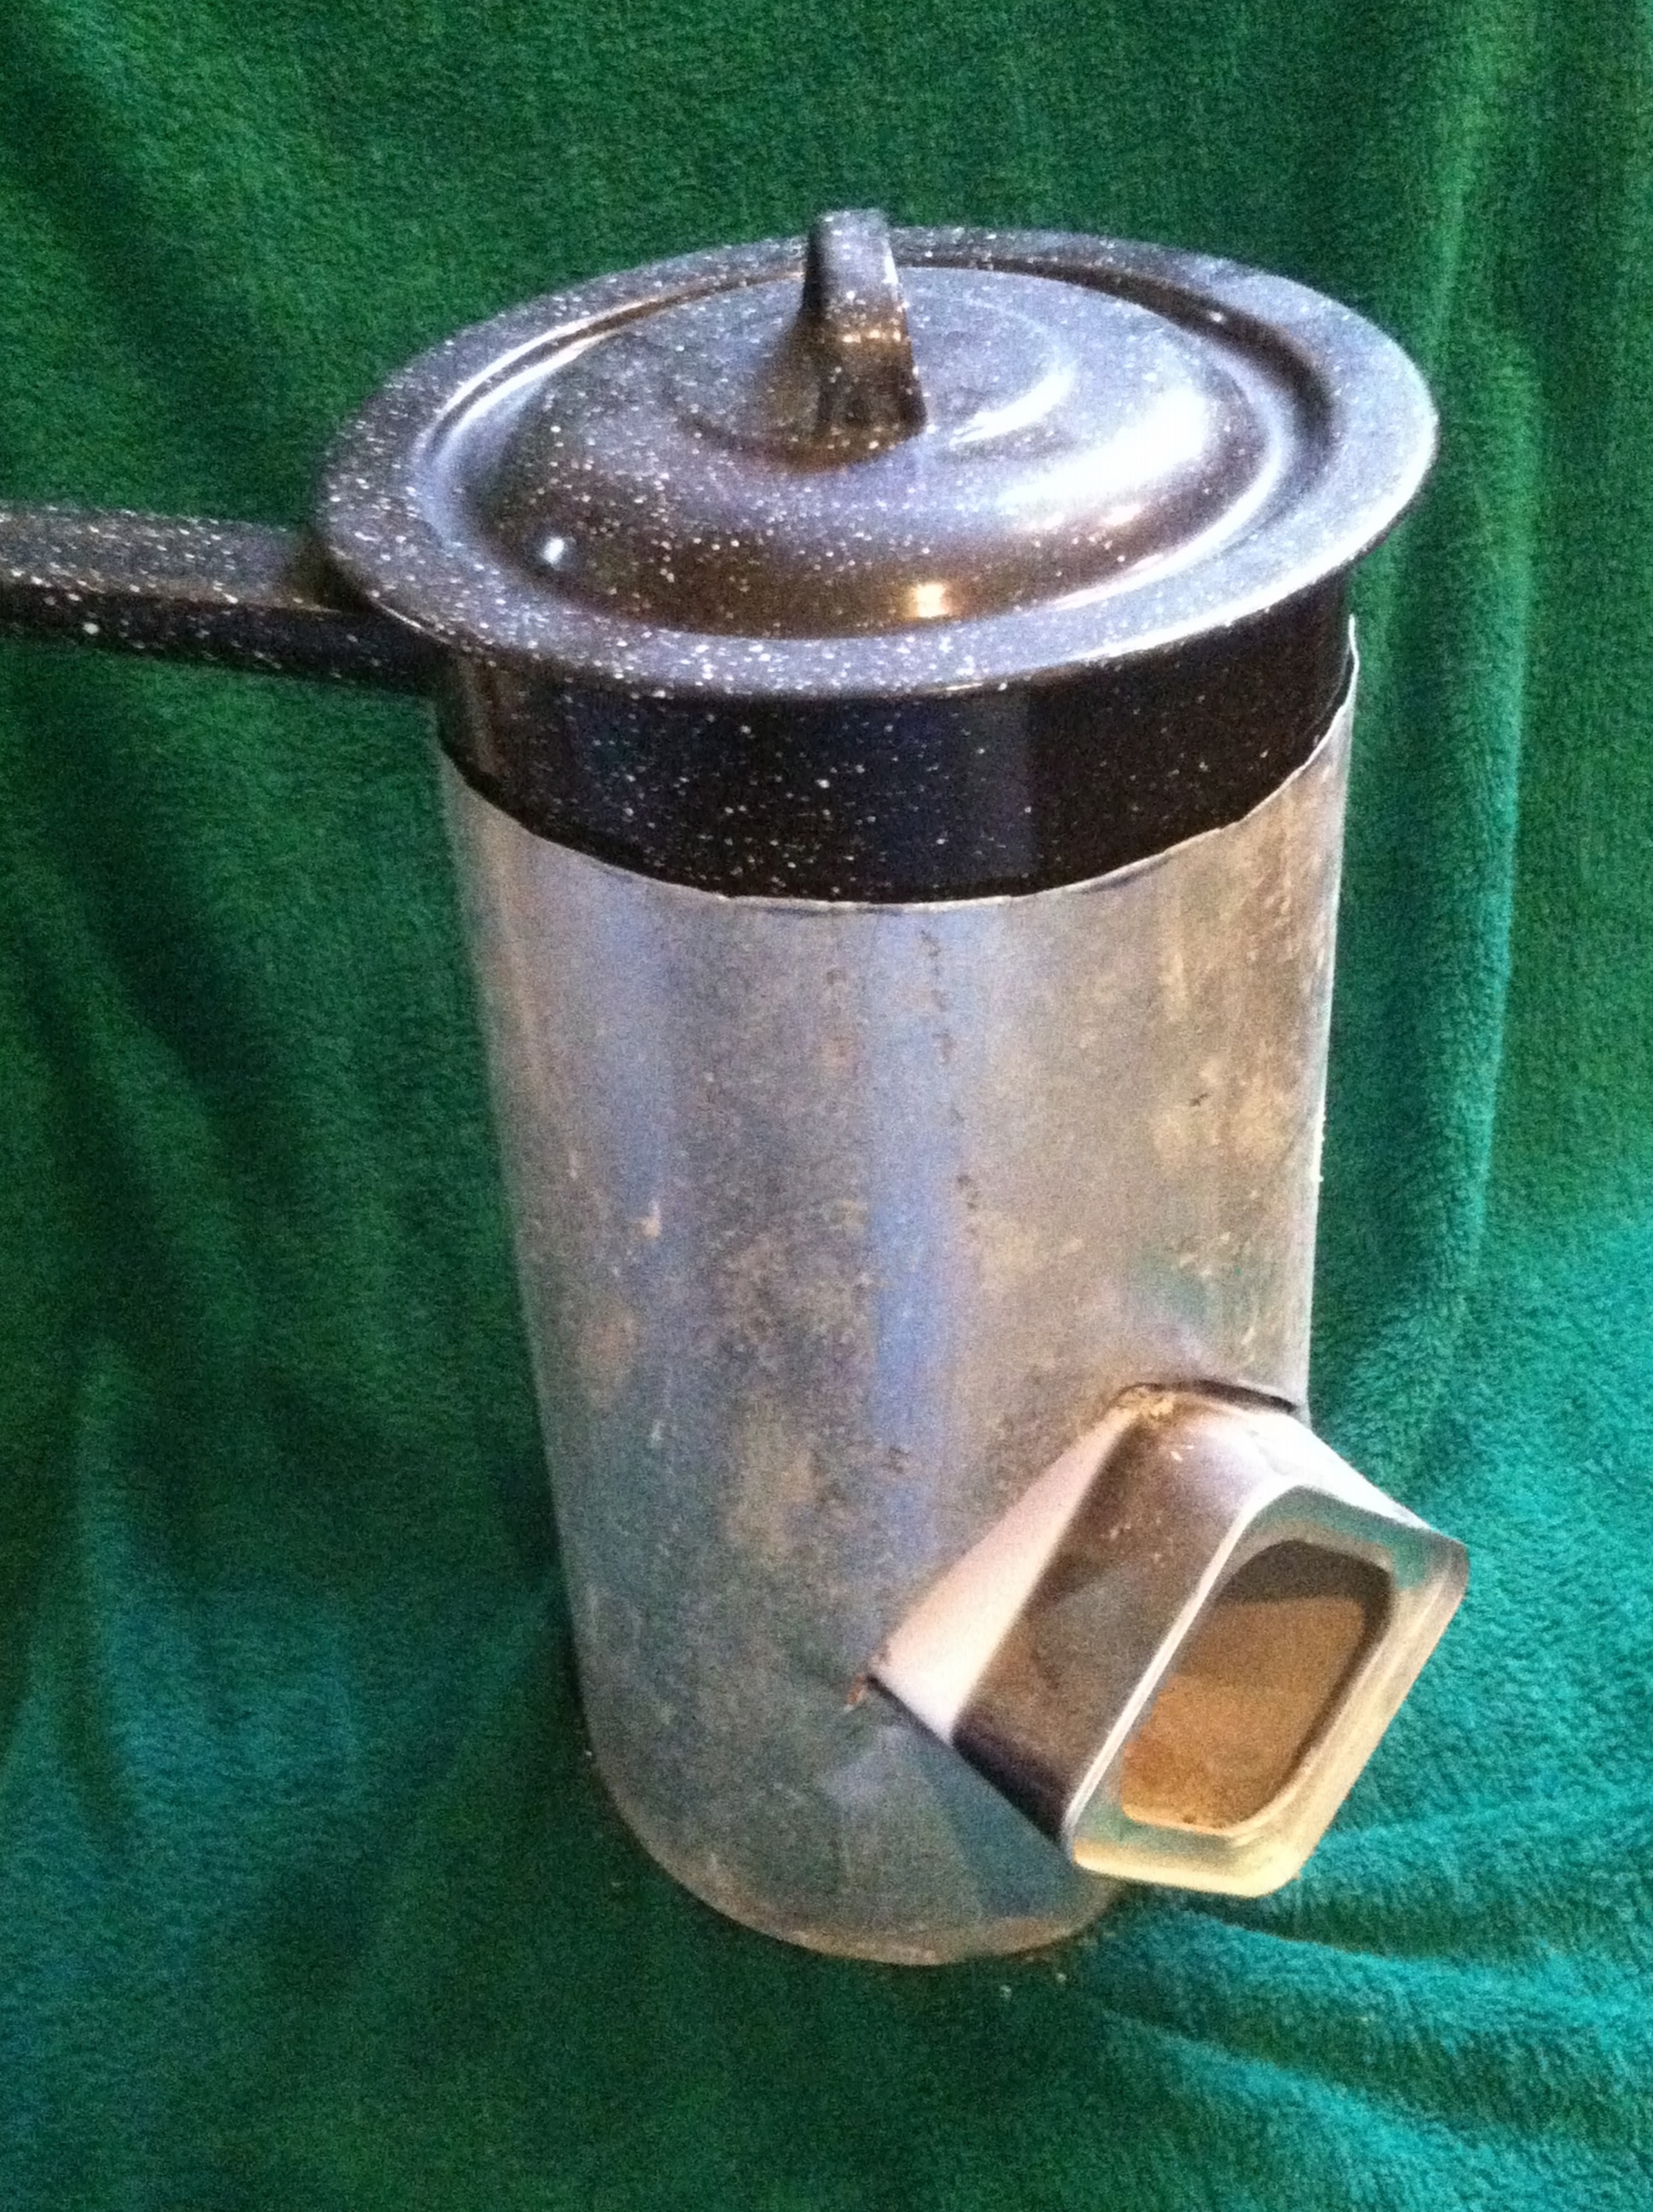
Sauce Pan Fits the Pot Skirt Perfectly
• Note the Feed Tube — I used a rectagular can for the feed tube. The feed tube accomplishes two tasks: it allows an upper area through which fuel can be fed to the combustion chamber and it also allows a lower area where air can be drawn in and pre-warmed. This clear input for combustion air is one of the key features that distinguishes a “rocket stove” from a mere “camp stove.” The presence of so much oxygen, I gather, also allows the fuel to combust more completely leaving so little ash and char at the end of the burn.
What’s with the square? I inserted the can on a 45 egree angle so it was more like a diamond than a square. This allowed another piece of metal to rest diagonally across the square to separate the fuel and air inputs. The angles of the square, I figured would support the center divider a bit better than on other designs where a round can was used for the input tube.
And yet, as gloreous as this my first rocket stove is, I’ll never fire it. Why?
• Smells like Metal — Most damning is that in my enthusisam I made the body out of a length of heating duct material. A great source of cheap sheet metal that I was able to scavenge… and yet it’s galvanized metal. Galvanized metal shouldn’t be heated to the temperatures found in a stove because it releases fumes that are poisonous. And furthermore, I’ve been told they don’t improve the flavor of the beer (grin)
• Wrong Vermiculite — I used the wrong kind of vermiculite. I used vermiculite from the gardening center which is extremely fine. I should probably looked a bit further for the kind used for insulation since the granules tend to be much larger. I also wasn’t too pleased with the consistency of the cement / vermiculite mixture. Many rocket stove builders mention that an ideal blend requires a degree of fiddling. I needed to add LOTS more water, for instance
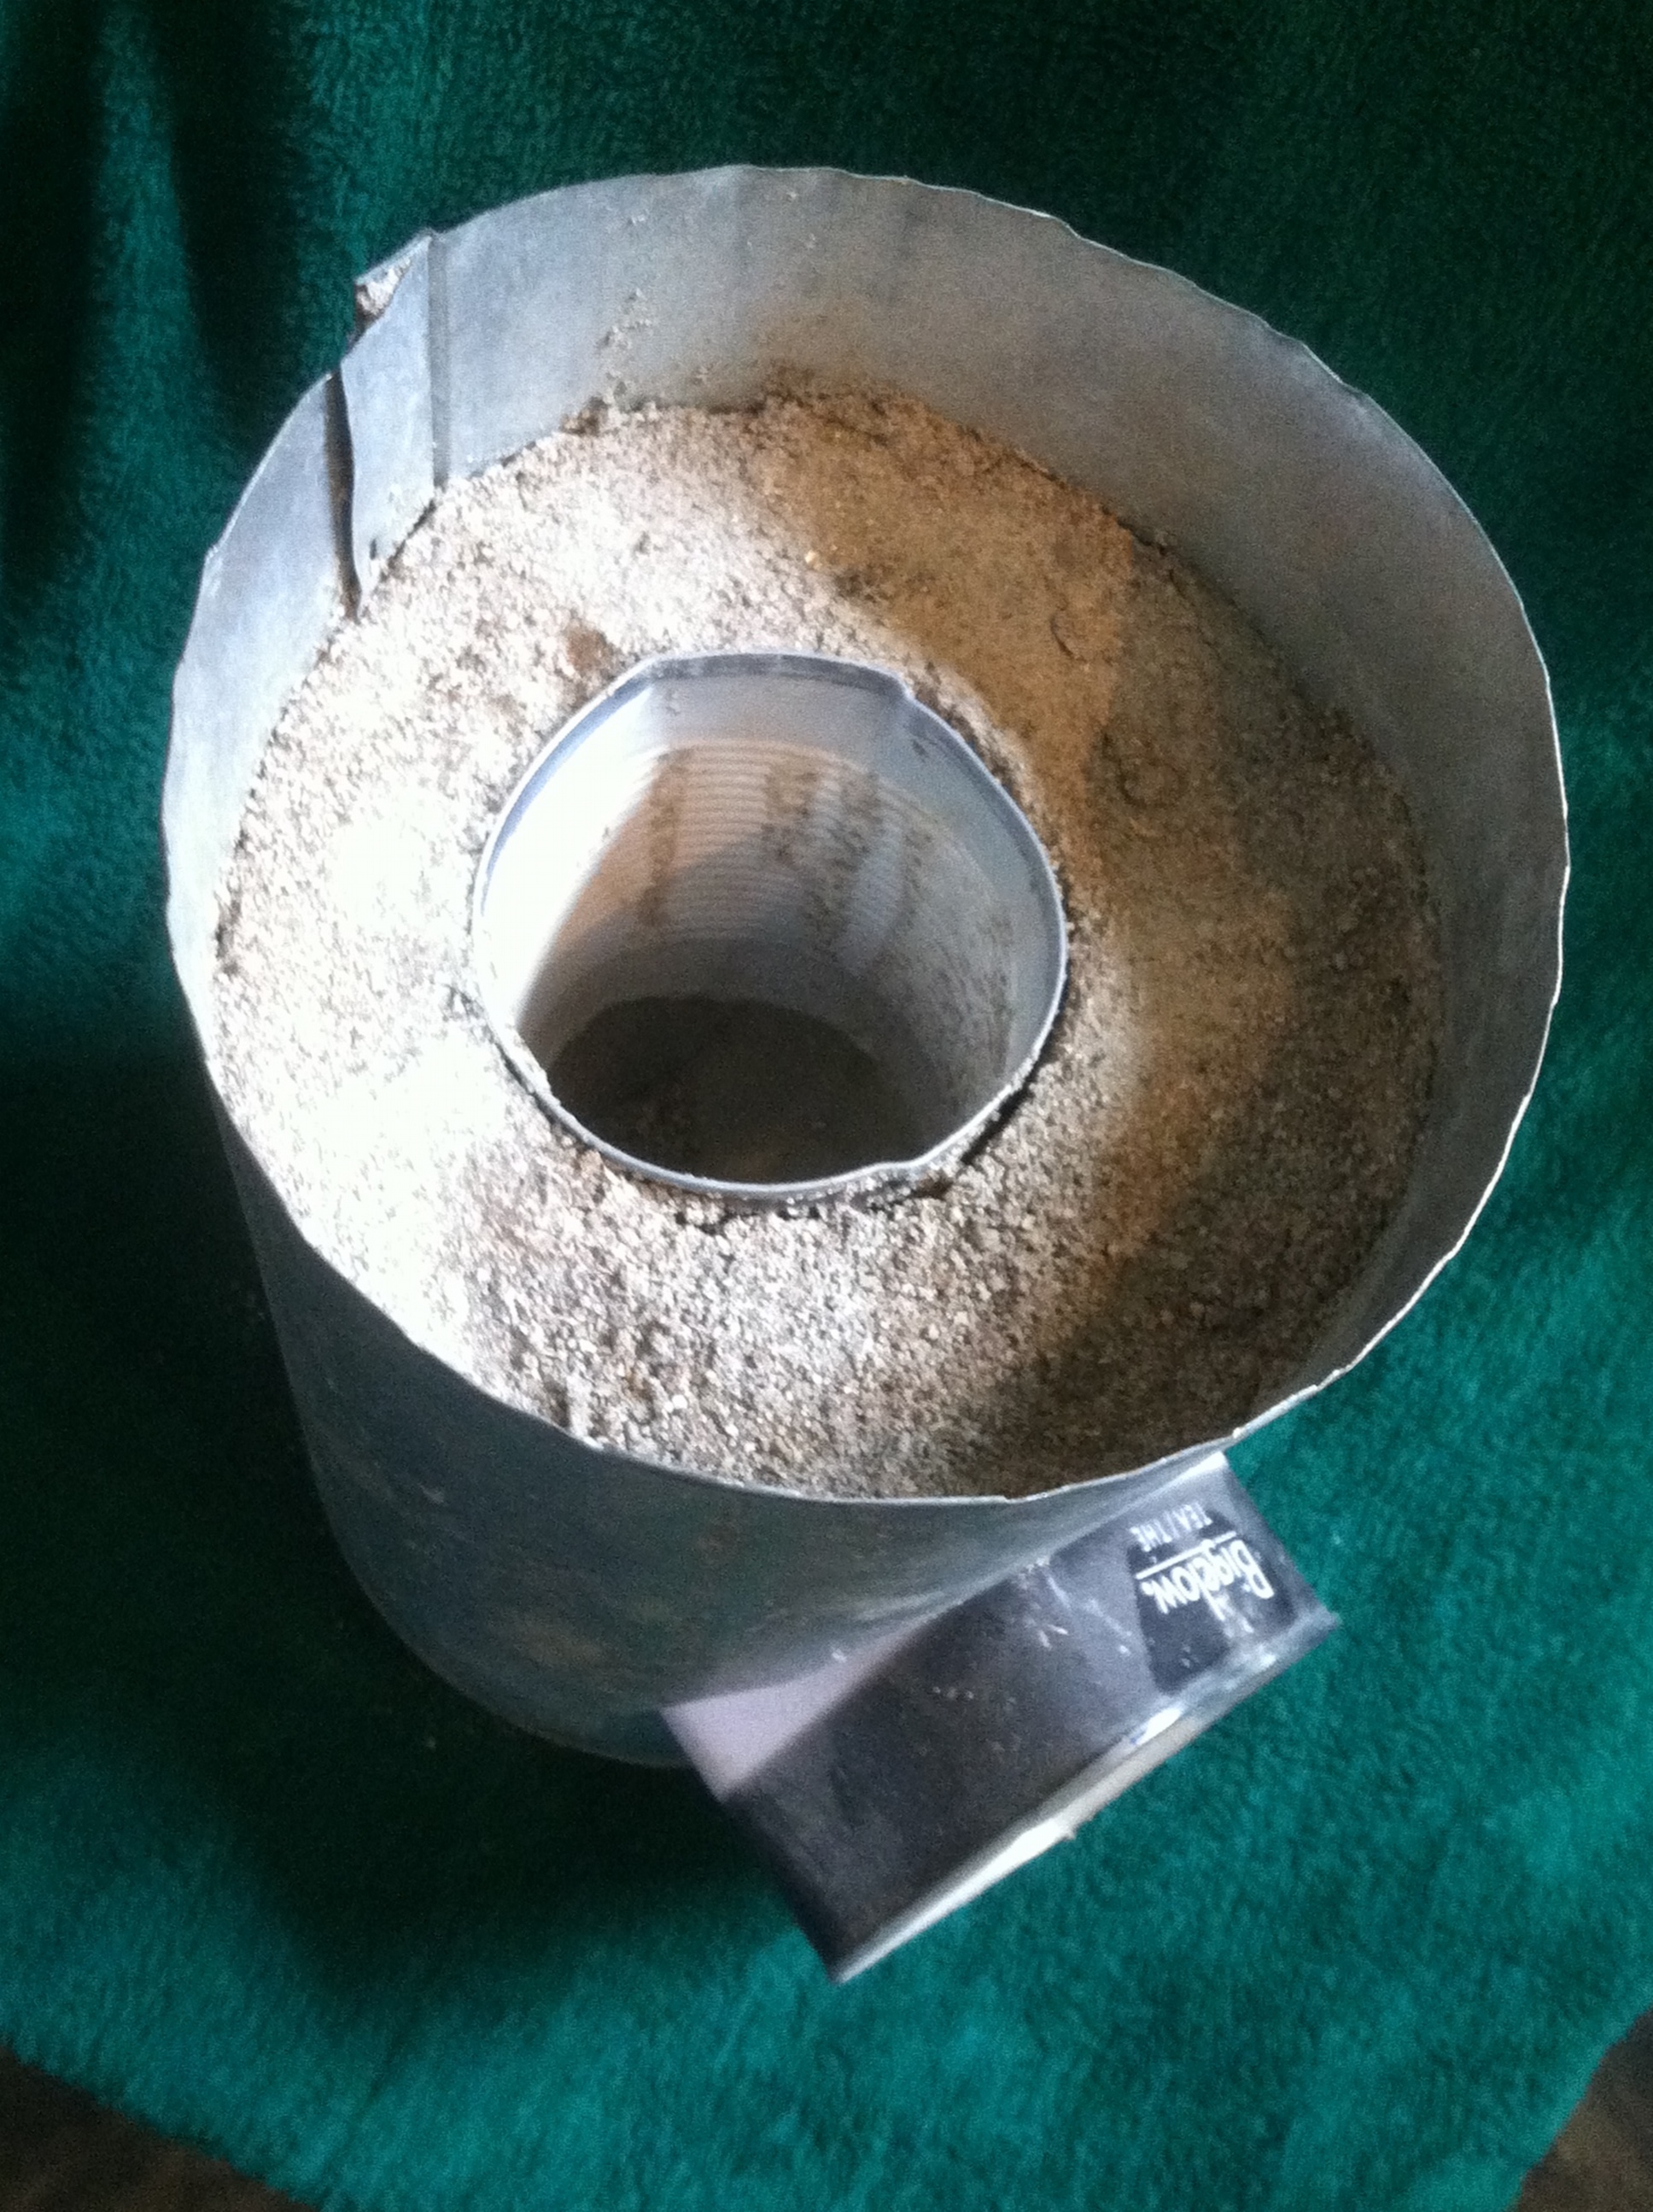
What a Small Combustion Chamber, eh?
• It’s too small — Once I got the thing assembled, I realized that it’s probably too small to boil 5 gallons of water on, at least, not in any tolerable amount of time. The fuel input tube needs to be bigger, I figure, to allow more fuel to combust at the same time… which also means that the combustion chamber should be a touch bigger… and who was I kidding with that pot skirt that was sized for a sauce pan? Can’t make beer in that!
I am very happy with my first draft rocket stove, even though I’ll be breaking it up for scrap this afternoon without firing it even once. It gave me a chance to fiddle with the materials and to remember how to work with tin snips.
And best of all, I can now call myself a “Rocket (Stove) Scientist!”
Posted in Process | Tagged boil, heat, stove, tinkering | Comments Off


